Monday, January 30, 2017

Pearl Butterfly Lesson 1

Friday night, I got the chance to start working on Alison Cole's Pearl Butterfly cyber class. Before I show you my progress on the piece, I wanted to share what an Alison Cole cyber class comes with.

The first thing is obviously the kit.

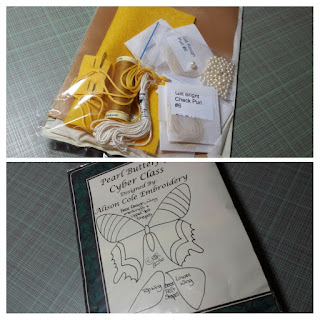
The kit contains everything you need: fabric with muslin for backing, felt and wool for padding, Gutterman thread for couching, Au vers a soie thread for embroidery, all the goldwork thread and for this project pearl beads.


Other than the typical things you need for embroidery, here are things you definitely need but doesn't come with the kit:
  • Scissors: You need a pair for cutting goldwork. You can use an old pair (never your good ones!) but I bought a pair of scissors with a serrated edge from Golden Hinde which are specially made for goldwork embroidery.
  • Beeswax: This one is very essential! I bought mine from Amazon here.
  • (optional) Mellor: Since I was ordering the scissors, I figured why not get this too. I read it helps with moving and shaping metal thread.
The fabric by the way is GORGEOUS! It's a delustered satin and is great for stitching, especially hiding your tiny stitches in between the weave. I'm definitely going to have to place an order for more of this fabric.


Lessons are published on Alison's website in PDF form. The password to access the lessons is given to you by email when the class begins. For support, you also get a user login to a forum so you can submit questions and get advice. I like to print out my lessons in case I want to add in notes.


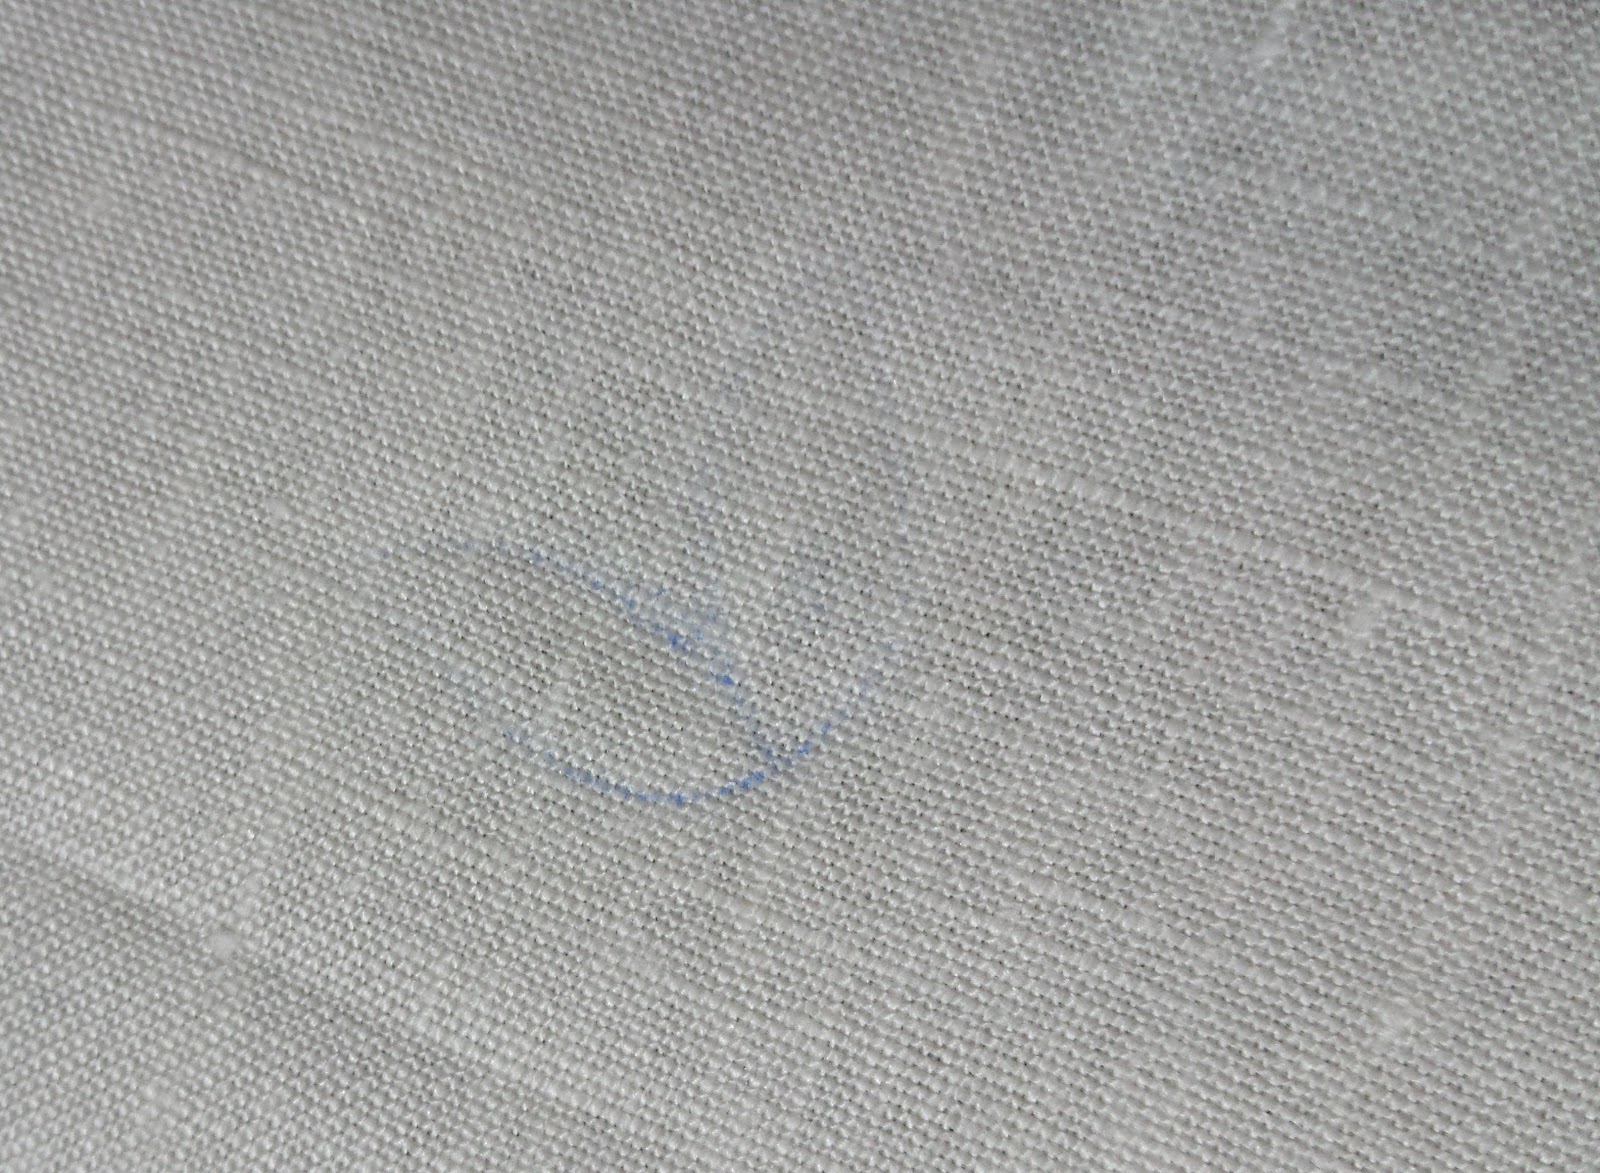
So now to start. I first began by tracing the template onto tracing paper.


To transfer it onto the fabric, I got this product by Clover. It works much better than the other product I tried last week.


It's very faint and I did find it hard to see the white on the fabric because it's so shiny. But once I got to applying all the felt it gets easier.


Friday night, I concentrated on transferring the pattern and cutting out the felt pieces.


Saturday I took the time to study up on stitching down felt padding. Luckily I had some great resources:
  • On my tablet is Craftsy's Goldwork class Embroidery: Essential Techniques with Lucy Barter. It's a really excellent class. The class covers every part of goldwork and Lucy shows you exactly how to do each technique from anchoring the thread till the very end when you end the thread.
  • Hazel Everett's Goldwork: Techniques, Projects and Pure Inspiration. This is a great book to accompany the Craftsy class as it contains a thorough explanation of supplies and techniques.
  • Alison Cole's The Embroiderer's Little Book of Hints and Tips. This book is great for those uh-oh moments you experience when you're first starting. Plus it covers both goldwork and stumpwork as those are Alison's specialties.
  • RSN's Goldwork book. It's a nice little book but doesn't have a lot of details. I use it mainly for the picture examples of each technique comparing it to the other books.

The butterfly had two layers of padding.


This part was great fun to do. I really love how it comes out.


Sunday, I started with gold threads for the first time. As we all know Kreinik and DMC metallics don't count. The thread below is pearl purl and comes coiled. It's usually stretched out and then couched as an outline around goldwork designs.


It was really scary touching it for the first time. All the experts kept saying you shouldn't touch them too much. This was repeated so many times, that I was scared to touch it. Having to pull on it made it more nerve wracking!


But I quickly got over it. It's actually quite fun once you get into the rhythm.


I still have the lower wings to do, which should be done before the end of the week and then it's a long wait till the next lesson in two weeks. It will give me time to catch up on other projects.

Sunday, January 29, 2017

January TUSAL


Very short post for me to catch up with all my SAL posts. This month's jar was filled with whites and blues from Hearts and Flowers. The pink at the very top is from my beading project De Rose VĂȘtues. Tomorrow, I'll be (hopefully) sharing my progress on Alison Cole's class Pearl Butterfly.

WIPocalypse 2017 – January 29


This month's theme is: What Stitch-a-Longs (SALs) are you participating in this year? Except for TUSAL and WIPocalypse I'm not really participating in any SALs. What I am doing is taking classes with other stitchers either in person or online. Does that count? There are 3 so far: a cyber class with Alison Cole which has started already, a class at the JEC (Japanese Embroidery Center) in April and a class at the EAC seminar that will start once I get my kit.

This month I worked on many things, none of which are my WIPocalypse project. But I did finish one project so that's good :) There are more pictures here for those who are curious.


The rest of the post is pretty sad, but I'm sure it will be better next month.

No Update
Ink Circles - The Bramble and the Rose


No Update
Teresa Wentzler - Tracery Dragons

No Update
Satin Stitches - Donna's Fantasy Lace

No Update
Kathryn Drummond - Romantic Rosebud

No Update
Annie Penin - Fleurs de Sakura

Thursday, January 26, 2017

Great News!

A short post today, I just received an email confirming my class for EAC Seminar 2017.


I hope you enjoy seeing my whitework projects because you will be seeing a lot of it soon :) The class is with Jette Roy Finlay-Heath and will be on traditional Hedebo embroidery which is a Danish whitework technique.

Also, thanks to the magic of time zones the class materials for my cyber class with Alison Cole were released today instead of tomorrow =D I've already printed it out, now I just need to get home to start. I'm hoping to have something to share with you on Monday. If you can't wait till then, you can follow along with me on Instagram.

Tuesday, January 24, 2017

Hearts and Flowers

I had a very slow weekend and did very little done. In fact I got no stitching done, but I did bake cookies and a cake :) I also managed to get a tiny bit of sunlight in the morning to take final pictures of Hearts and Flowers.


The above is a slideshow of all the pieces together, but just in case you can't see them here is a close up of the faces of each accessory.

Starting with the scissor fob which was the last accessory to be finished. The fob is stuffed with polyfill and there is also a 2016 Canadian quarter inside it for weight. Very apropos as I got this kit from Seminar 2016 in Toronto. The scissors in this picture are Nogent scissors I bought a few years ago. I don't think I've ever used them for cutting anything.


My favorite part of this fob are the Swarovski crystals I managed to find that matched this project perfectly. A little white heart and a blue flower.


The second accessory is the needle book.

And when you open it, you find the thread counters we received as gift favors at Seminar 2016, this time the heart is blue.


And the last one is the pincushion which I think is my absolute favorite. Bullions are a pain in the behind to stitch but you can't argue the results you get when they are finished.

My one regret is that I didn't have pretty pins to stick in my pincushion to really show it off. I will have to look around and see if I can find some for exhibition.


This set will be joining Fandango and Hana at Seminar 2017 :) Notice I've only picked pieces that don't need to be framed >.< All my other larger pieces are not framed and there's no way I'm dragging them on a plane with me. I will have to see if there is a lighter, temporary way I can frame some of them.

Friday, January 20, 2017

La Broderie de Perles - De Rose VĂȘtues

I finished Hearts and Flowers Monday night, but I'm still waiting for some good lighting to take the final pictures. In the meantime, I decided (maybe unwisely) to start a new (tiny) project while waiting for my goldwork class to start next Friday.


This small project is one of many I plan on stitching from the book by Yukiko Ogura called La Broderie de Perles. I bought the book 3 years ago now and always planned on stitching a few designs but always had a hard time tracking down all the beads.


It took a while (months of back and forth actually) but I lucked out in finding an online store that was actually willing to help me track down all the beads. You would think it would be easy since the bead number is included in the pattern, but no bead size is mentioned. The worst is that some of those bead numbers are completely wrong! The ladies from The Beading Room were amazingly patient with me and I was finally able to put together all the beads.

The piece I decided to start with is called De Rose VĂȘtues. It shows a pair of pink tulips with lovely shades of green for the stems and leaves. This is not the smallest design in the book, but the smallest one from the patterns I want to stitch.


The fabric was measured and cut months ago and just waiting for me to start. The top fabric is some sort of even weave I found at the fabric store and the one behind is muslin. Backing your fabric is great for hiding the ends of your threads :)

The book comes with all the patterns to iron on your fabric. When I cut all the fabric and ironed them I planned on ironing the pattern on as well. Unfortunately, they didn't work. I think it lost whatever it was that made it iron on :(


Fortunately, I had bough transfer paper from the craft store last year. I never got the chance to use it yet. I was planning on using it next week to transfer my goldwork pattern onto the fabric. This is a good opportunity to practice.


I started by placing the pattern centered on the fabric.


Slowly lifting up the pattern, I slipped in the transfer paper. I went with blue, because I read somewhere that it blends in better with white so it won't show as much once the piece is finished.


I have a pen with a cap shaped like a crayon making it perfect for this task ;)


I traced over the pattern, making sure to press hard, but no matter how much I pressed I didn't get much on the fabric. After doing it over twice I gave up because I didn't want to ruin the original pattern. It seems this stuff stops working over time despite never being used.


So out came the light-box. I'm glad I tried this out this week, imagine I found out next Friday that the tracing paper is useless and I'm unable to trace my goldwork pattern. I will have to make sure to pass by the fabric store and find an alternative product.


Now that my pattern was traced, I took out my threads and beads. The nice thing about these designs is that they use DMC thread so I can raid my stash. I love this color palette ^_^


I really should have sewn together the two layers of fabric, but I was too eager to start. I just hooped it up and pulled the fabric taught. Hopefully stitching the beads on will bind them together.


The first night, I didn't get far. I got one flower stitched.


The instructions don't mention anything just the name of the stitch in french, in this case point de feuille, and the DMC color. Nothing is mentioned of the number of strands. Luckily I managed to get my hands on another book by Yukiko Ogura that contains more information. It says to use a single strand doubled with a knot at the end, which is usually the norm when embroidering with beads.


Tonight I stitched the second flower and took the time to take more pictures of the process. All the stitches in this book are stitches that many would recognize, you just do it with beads.


The next step is the greenery: stems and leaves. However, (I'm sensing a trend here) while pulling out the beads and double checking the numbers, I realized I'm actually missing one of the greens :( I've found it at my usual online bead store but I'm going to wait for a sale. The worst is they just finished having a 40% sale >.< The rest of the beads have since been checked and double-checked to make sure I don't run into this issue again.


So for now I guess I will have to put it away. I was so hoping to get it finished this weekend since it's such a small design. It's a sign I should take out one of my WIPs :P